Setting Non-Call Availabilities
Use this section to enter the minimum and maximum number of hours per day an employee will devote to non-call work with the name of the non-call activity and its description.
What do you want to do?
Tasks in this Topic Include:
- Enable Non-Call
- Set Non-Call Activity Types
- Set Non-Call Availability Hours
- Set Non-Call at Start or End of Shift
Related Tasks:
- Set Skill Type Values
- Applying Non-Call Parameters
- Maintain Employee List
- Applying Availability / Preference
- Fixed Shift Selection
- Exception Calendar and Meeting Planner
- Changing Rank Status
- Maintaining Notes
- Maintaining Employee Details
- Maintaining Inactive Employees
- Employee Import / Export
- Employee Templates
- Generating Employee Reports
See Also:
Enable Non-Call
- Select Employees from the left-navigation menu.
- Select the Employee List
option.
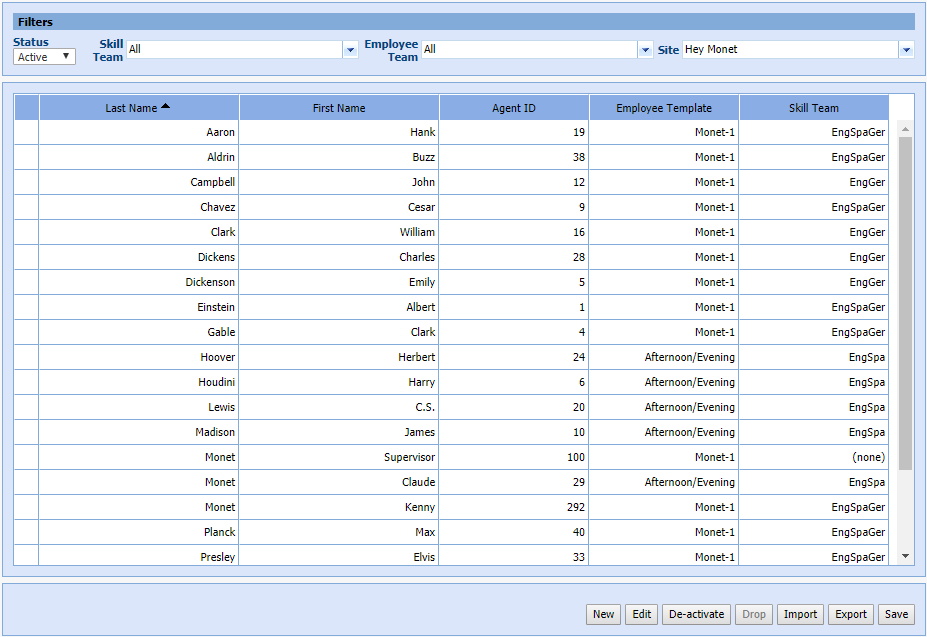
- Select an employee (agent).
- Select Edit.
- Select the Available for
Non-Call check box in the employee filter region.

Set Non-Call Activity Types
- Select the Non-call Activities tab.
- Select the check box for each non-call activity the agent handles.
- Select Save.
Set Non-Call Availability Hours
- Highlight a non-call activity.

- Enter the Min. # of Hours and Max. # of Hours for each day to assign the non-call activity to the agent.
- Repeat steps 1 and 2 above for all non-call activities to assign min and max hours for the agent.
Set Non-Call Availability at Start/End of Shift
The Non-call at the Start/End of a shift is set by determining the minimum number of hours that an agent must have attached to the start or end of a shift. The amount of hours that an agent gets assigned to this activity will count towards the total amount of hours required per day on a particular activity, and Monet will try to enforce all of the rules associated with the global Non-call activity settings, although it is possible to forcibly violate these settings.
To set non-call at the start or end of a shift:
- Select the Activity
at Start for each day the agent is scheduled from the drop-down menu.
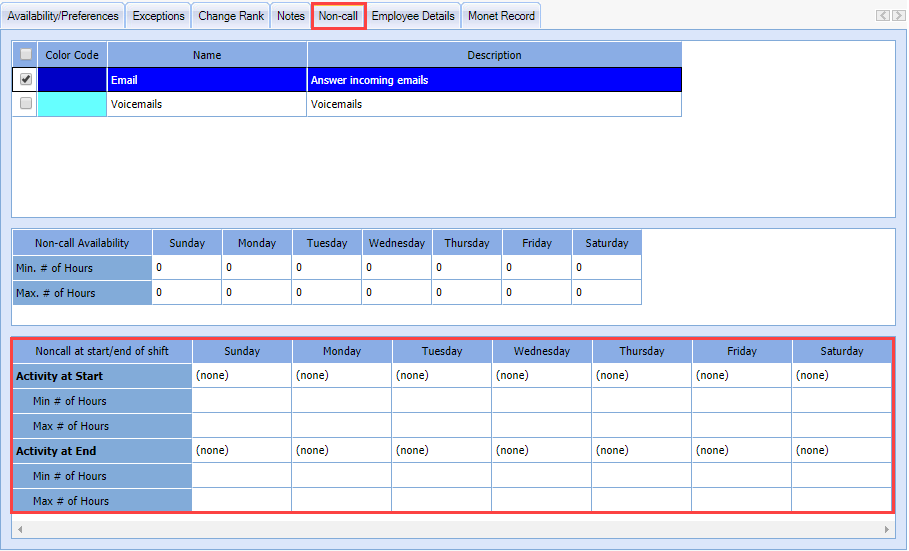
- Enter the Min and Max # of Hours the agent can be scheduled for the non-call activity.
- Select the Activity at End for each day the agent is scheduled from the drop-down menu.
- Enter the Min and Max # of Hours the agent can be scheduled for the non-call activity.
- Select Save.